


How to choose, install and style slatwall panels for retail stores, displays, garages and more.
Turn an empty wall into a flexible, professional display. Here is everything to consider before choosing panels, preparing a wall and fitting accessories.
Shop slatwall panels ↗
How to choose the right slatwall
Think about your overall store look, available wall space, the merchandise you plan to display and the type of accessories you need.
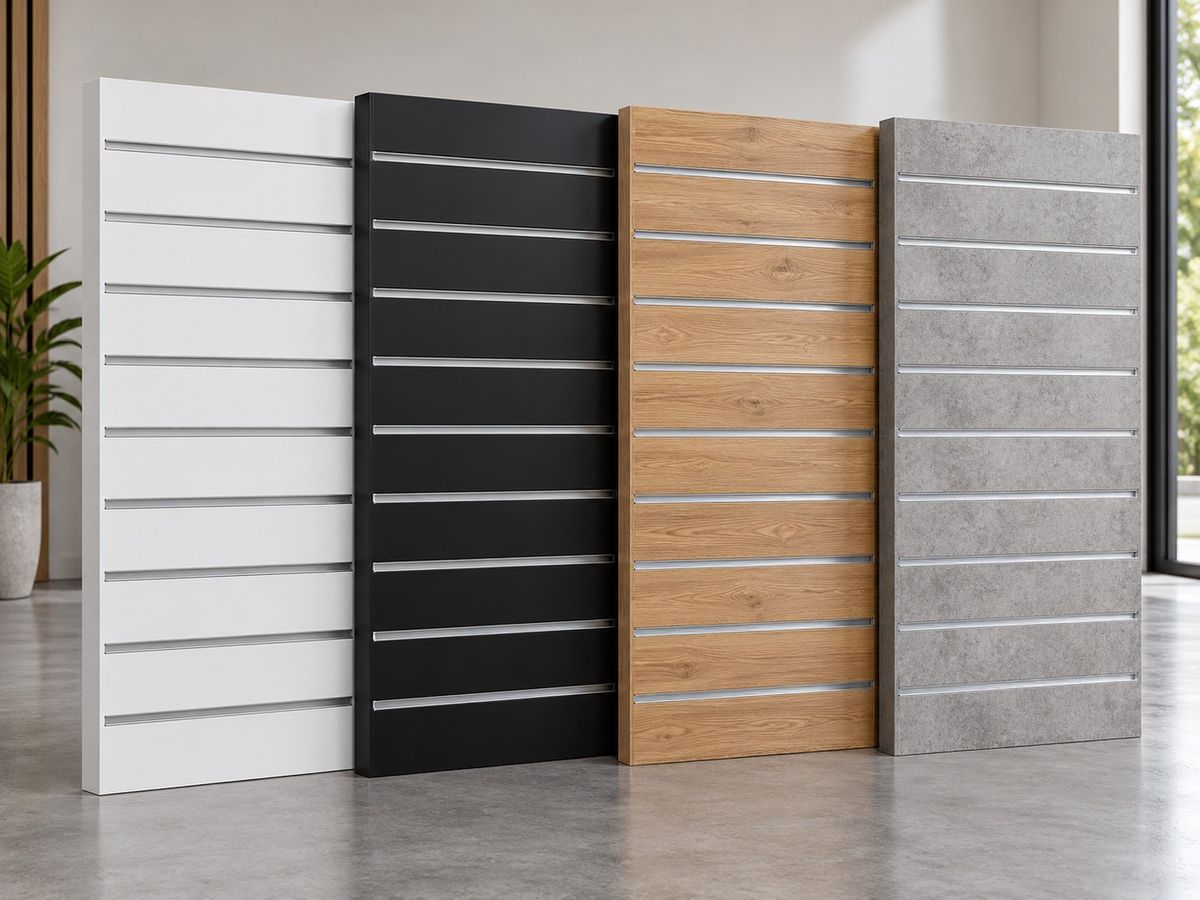
Choose your finish
White slatwall
A bright, versatile choice for fashion, pharmacies, gift shops and general retail. Makes coloured merchandise stand out.
Black slatwall
A sleek option for streetwear, electronics, automotive products and premium merchandising.
Woodgrain slatwall
Tavern Oak, Smokey Oak and other timber-inspired finishes bring warmth to lifestyle stores, beauty and homewares.
Decorative / custom
Deco-Slatwall and custom finishes can help create a feature wall, branded display or distinctive store atmosphere.
Choose your panel size
| Common panel format | Best use |
|---|---|
| 2400 × 1200mm | Large retail walls and longer continuous displays |
| 1200 × 1200mm pairs | Smaller panels for transport and vertical stacking |
| 1200 × 600mm pairs | Compact wall displays and smaller sections (check each listing) |
| Custom cut / made-to-order | Special dimensions, groove spacings and finishes |
Many standard panels are 18mm MDF with 100mm groove spacing; check individual listings because specialty products can vary. Standard MDF slatwall with aluminium inserts is different from decorative wood-slat acoustic panels.
Quick buying tips
- Choose a groove orientation that allows hooks to hang correctly (usually horizontal).
- Use colour-matched inserts for a discreet look or contrasting inserts for an industrial style.
- Confirm accessory compatibility and expected load before buying.
- Check delivery conditions for full-size panels and plan for safe unloading.
- Order connecting inserts and edge trims with your panels, where needed.
Slatwall installation: step-by-step
This is a general walkthrough for MDF slatwall panels with aluminium T-extrusions. Your actual wall structure, fasteners and display load determine the suitable installation method. For commercial or heavy-load applications, have a qualified shopfitter or installer verify the fixings.
Tools and materials
- Tape measure, pencil and spirit/laser level
- Stud finder and service detector
- Drill/driver, suitable bits and countersink
- Substrate-appropriate fixings and anchors
- Temporary supports or clamps, if required
- Fine-tooth saw blade if cutting panels
- Eye and respiratory protection when cutting MDF
- Two people to handle larger panels safely
Step 1
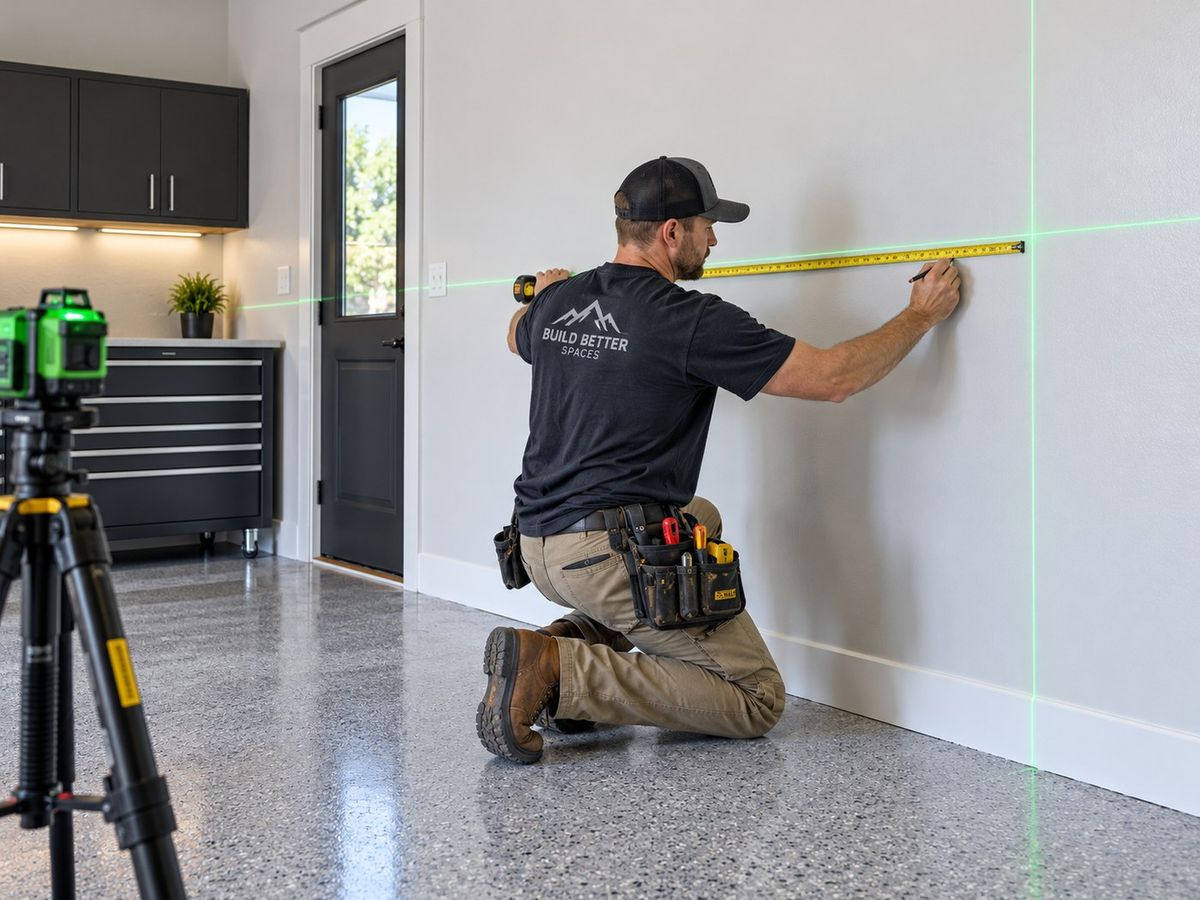
Measure and plan your wall
Measure the available width and height. Mark doors, switches, sockets, skirting and corners. Decide where joins and trims will fall. A 4800mm × 2400mm wall could use four 2400mm × 1200mm panels in two rows, subject to actual site clearances.
Step 2
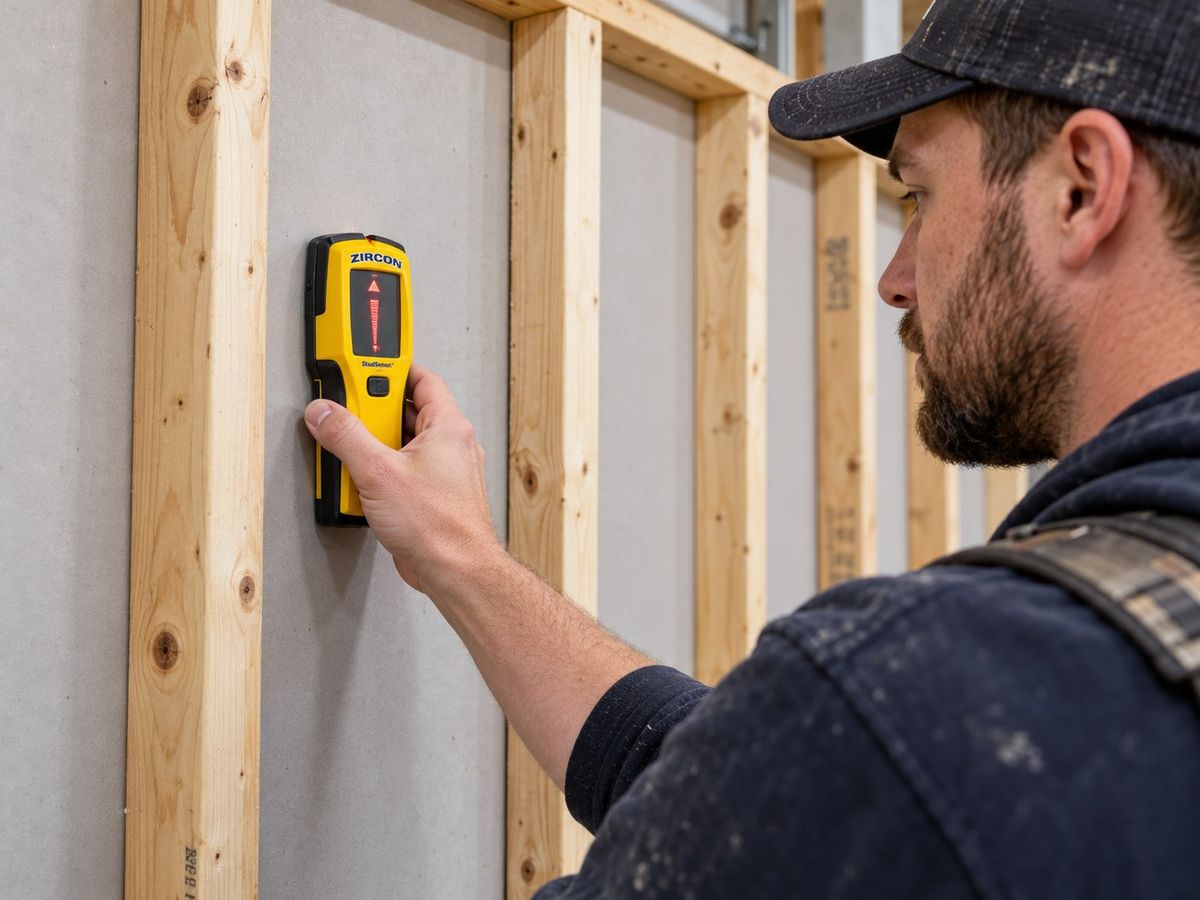
Find solid structural fixing points
Locate framing or assess the masonry substrate. Do not rely on plasterboard alone to hold a loaded commercial display. Check for concealed cables and plumbing before drilling. Fixing type, size and centres must suit the wall and merchandise loads.
Step 3
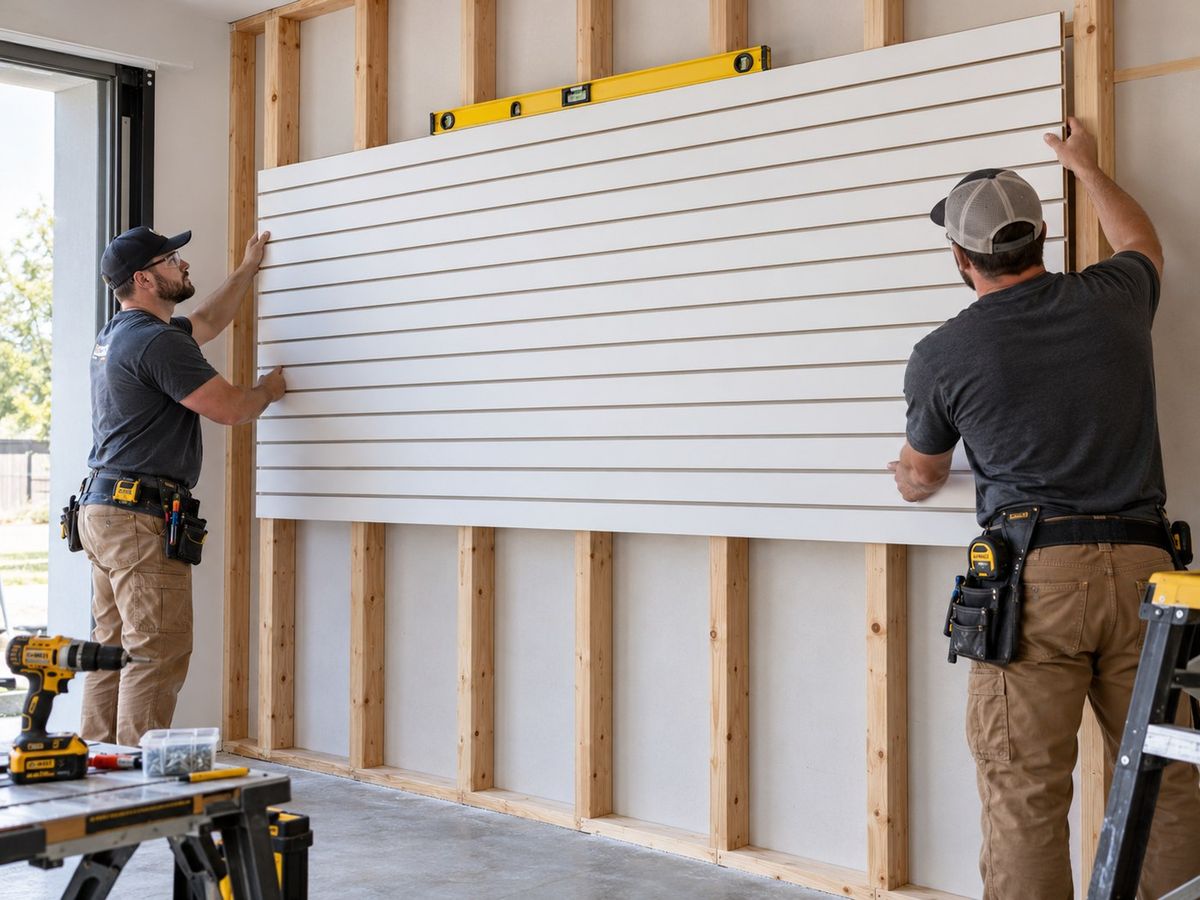
Lift, position and level the first panel
With another person, carefully lift the panel into place. The grooves must run horizontally for conventional slatwall fittings. Check level in both directions. Use securely rated temporary supports where appropriate.
Step 4
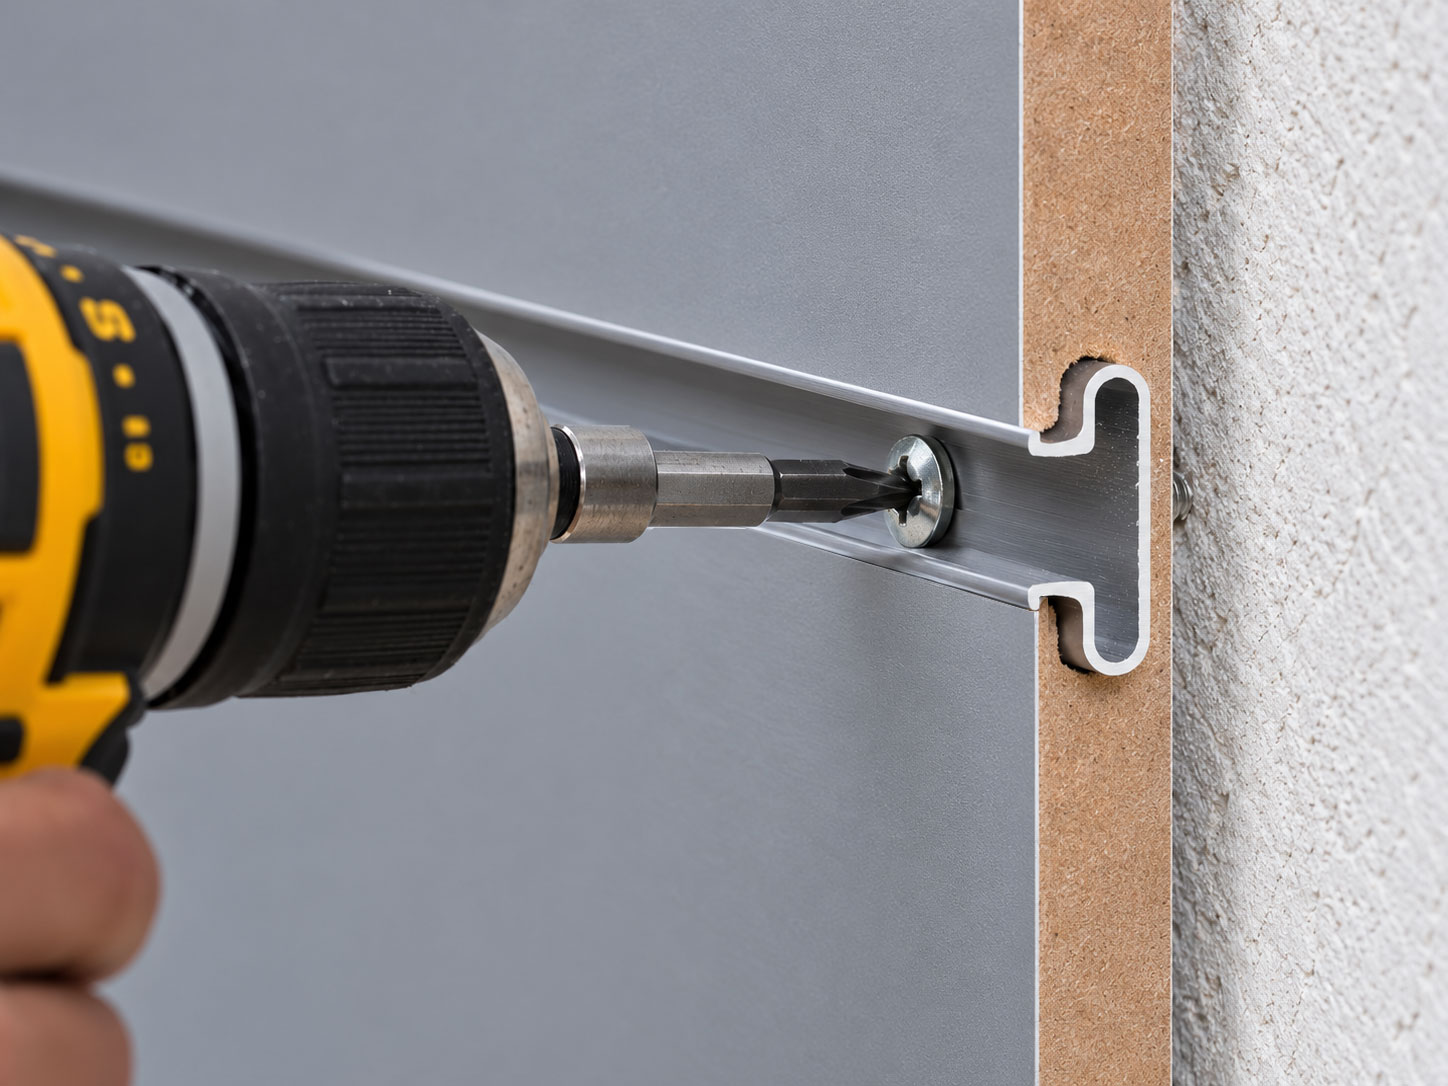
Fasten through the aluminium channels
Using the substrate-appropriate fastening plan, pre-drill and countersink through the aluminium T-extrusions into the structural wall support. Keep heads flush or recessed so fittings can seat correctly. Avoid crushing the MDF or distorting the extrusion.
Step 5
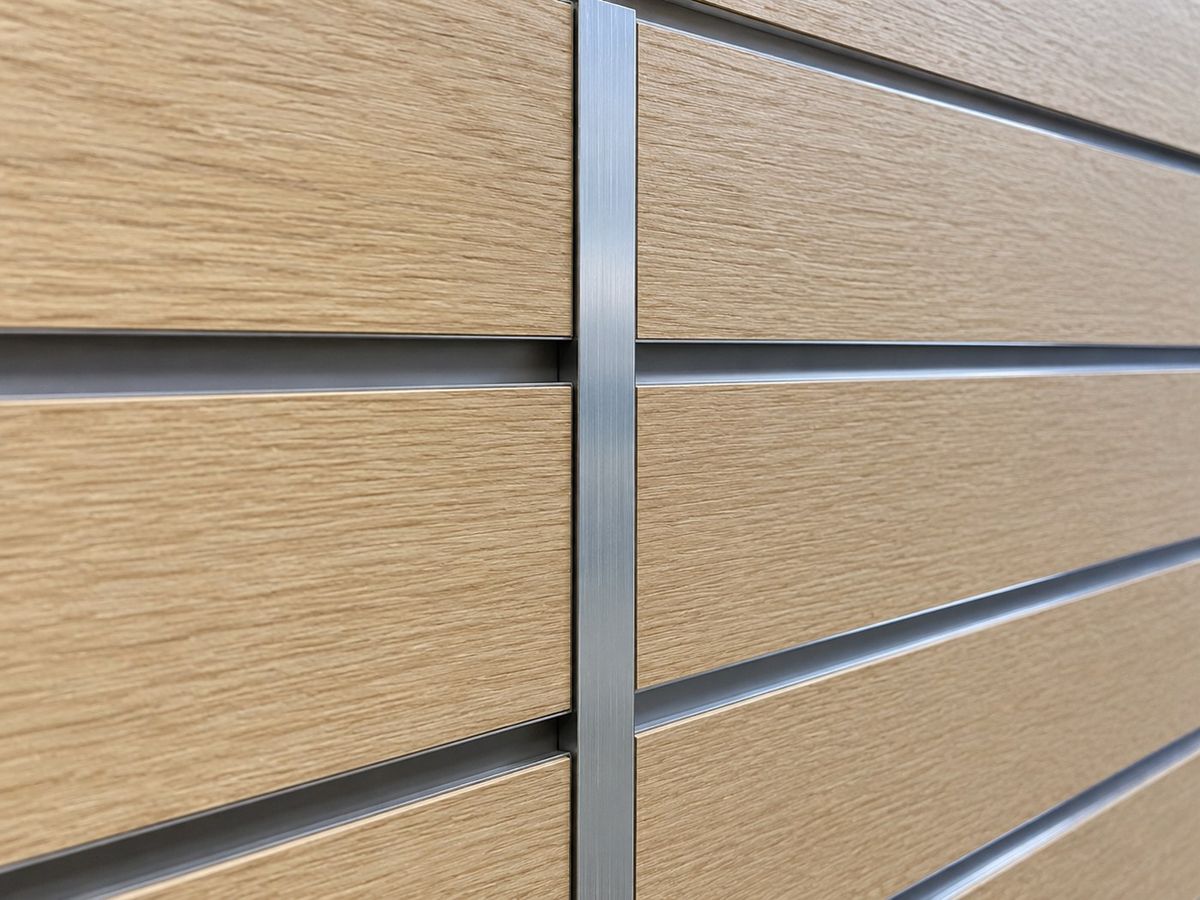
Join panels cleanly
Compatible panels have half-groove edges. Butt those edges together to form a full groove and add the matching connecting aluminium T-extrusion. Check the alignment and secure each panel independently to structure. Confirm whether you need an additional join extrusion.
Step 6
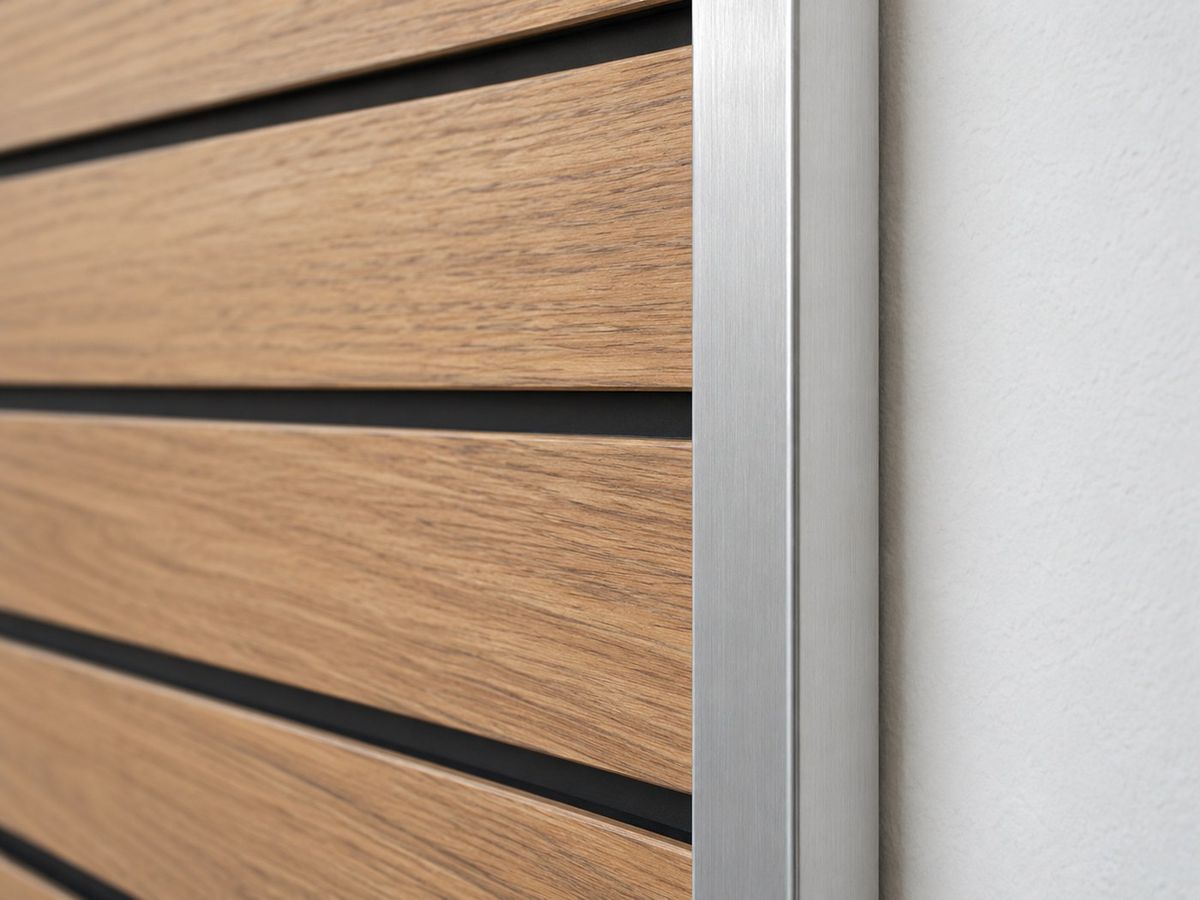
Finish exposed edges
Standard slatwall panels can have exposed raw MDF edges. Fit a compatible aluminium edge trim for a neater finish and improved edge protection. Plan corner details before cutting, and protect exposed MDF edges as appropriate.
Step 7
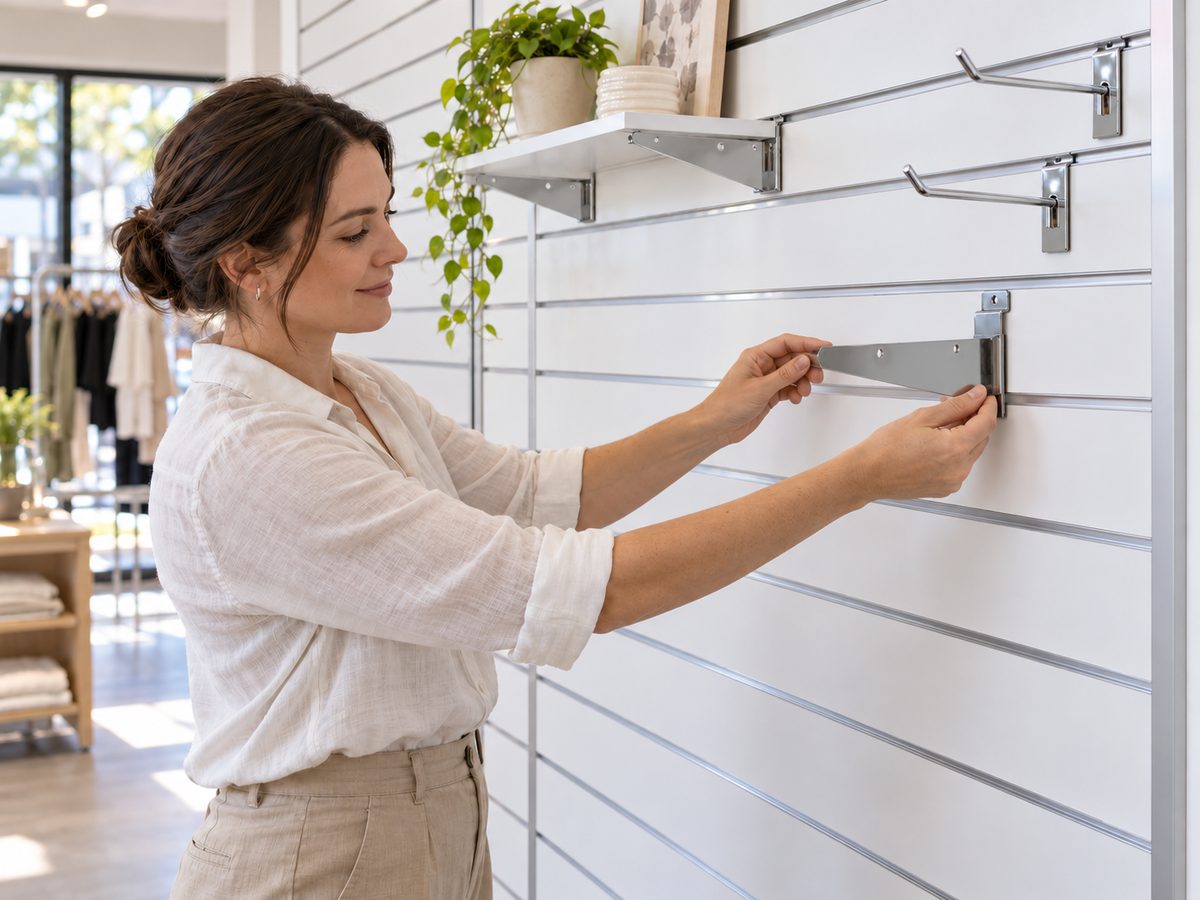
Fit accessories and merchandise
Use compatible hooks, arms, shelves and brackets. Ensure fittings are fully seated and locked where required. Keep heavy products lower, spread loads and avoid concentrating heavy brackets near edges.
Installer tips & tricks
Plan accessories first
Consider the size and weight of items before deciding where your hooks and shelf brackets need to go.
Measure twice, cut once
Use a suitable fine-tooth blade and fully support the panel when cutting. Limit laminate chipping and MDF dust.
Don't overload grooves
Load capacity depends on the panel, insert, bracket, wall and fixing method. Keep heavier items away from panel edges.
Keep standard MDF dry
For indoor dry spaces only unless the selected product has a verified moisture-resistant specification.
Use edge trims
Finishing exposed edges improves appearance and protects vulnerable MDF corners.
Refresh displays easily
Rearrange hooks, arms and shelving for seasonal ranges without reconstructing your wall.
Where slatwall works best

Fashion & accessories
Show garments, handbags, footwear and small accessories using hooks, rails and faceout arms.

Gift shops & homewares
Combine hooks, shelves and signage for layered, shoppable displays.

Hardware & automotive
Choose suitable fittings and a properly engineered fixing layout for tools or heavier merchandise.
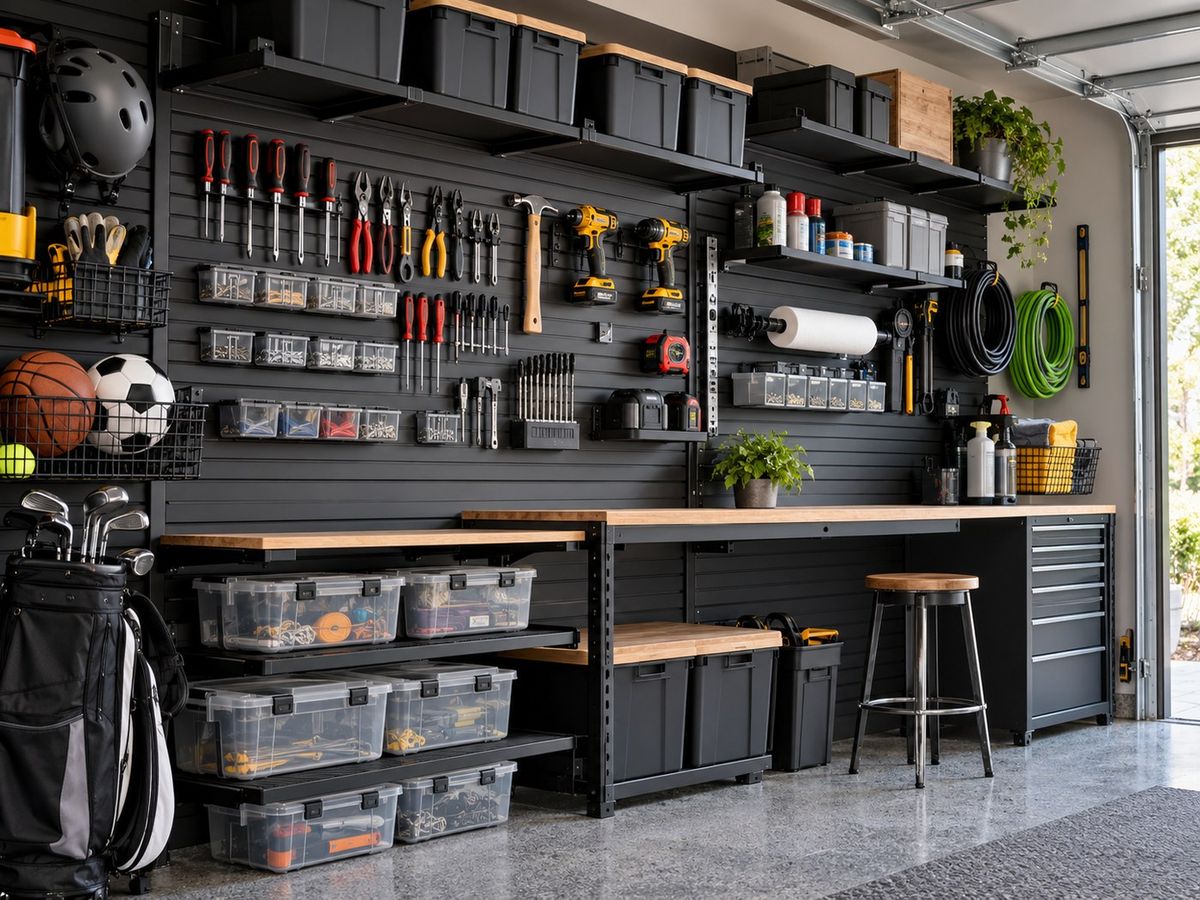
Garages & organisation
Move compatible tools and accessories off benches and onto the wall.
Installation checklist
- Panel size, finish and groove direction selected
- Wall structure and appropriate fixings verified
- Electrical and plumbing services checked
- Panel join positions and trims planned
- Panels level and fully supported
- Fixing heads flush or recessed in channels
- Edges and cuts correctly finished
- Accessories checked and loads safely distributed
Ready to transform your wall?
Explore slatwall panels, aluminium inserts and compatible accessories at Shop Fittings Store, or contact our team for help planning a display.
Shop our slatwall range ↗Visit Shop Fittings Store ↗Important installation note: This guide is general information only, not a site-specific engineering or fixing specification. Confirm suitable substrates, fasteners, loads, fire requirements and local building obligations for the intended installation. The finish backgrounds use Shop Fittings Store product images. Other guide images are AI-generated illustrative concepts, not photographs of actual products or verified installation details.